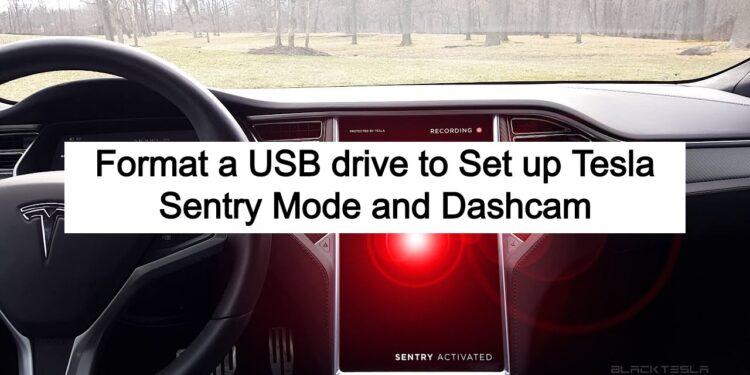
In this article, we are going over how to format a USB drive to set up Tesla Sentry Mode and dashcam. Learn to configure dashcam and Sentry mode in your Tesla. We are doing all the steps to install your dashcam for Sentry mode USB all that good stuff.
So to start this, we are gonna go over a couple things and that’s going to be the USB setup on your computer. Then the file configuration for that USB.
Now for the formatting process of these USBs, There are the things we’re gonna go over.
- Formatting a USB drive for tesla dashcam with Windows 10
- Flash drives under 32GB
- Flash drives over 32GB (64GB, 128GB, etc)
- Formatting a USB drive for tesla dashcam with Mac
After each step, I’m going to explain just the file format and you know the file you need to make so the car knows what’s going on. Super easy, super simple. You guys really just format it, plug it in, it’s good to go. Let’s do some of those steps now and then we will hop in the car and quickly set it up for you guys.
Formatting a USB drive for tesla dashcam with Windows 10
Flash drives under 32GB
All right so we’ve got the USB on the computer. This is for any flash drive 32 gigabytes and under. by the way, We’re gonna get to 64 or 32 or higher on Windows in just a second. So let’s go there this is the USB we want to do. you have 32 gigabytes and under. We are just going to hit format like this.
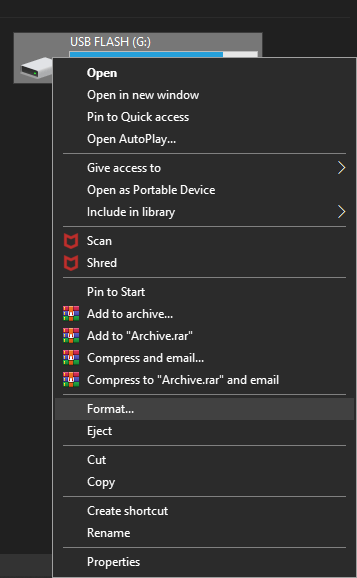
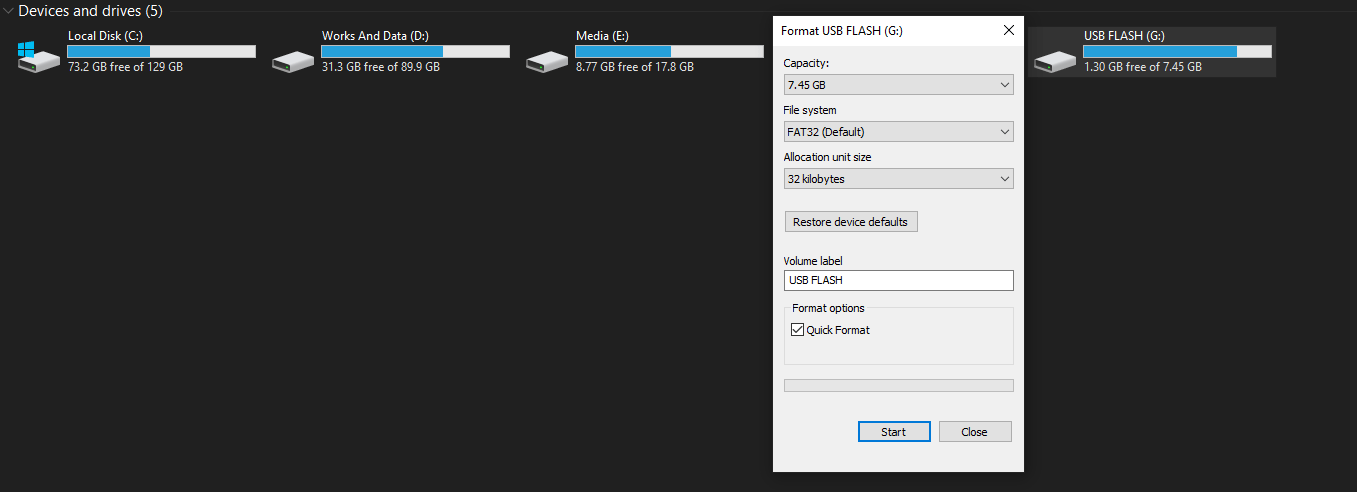
You are just gonna have it set to fat32. Then you’re gonna hit start. also, check quick format if you just want this to go faster it’s like instant. and then hit start.
Your USB flash drive will be formatted within a few minutes.
Okay, so once we have it like that, then open the drive. You are now going to create a folder. and rename it “TeslaCam“.

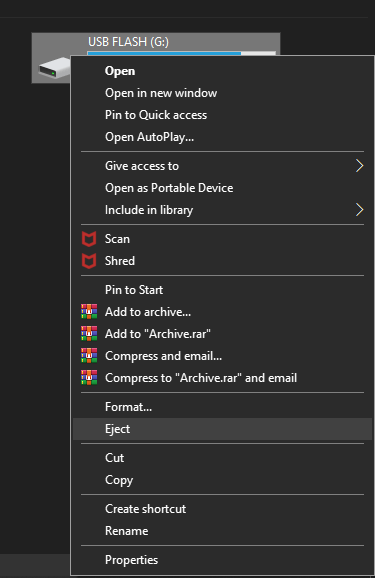
Then what you’re gonna want to do is eject. Don’t just pull it out. Right click on your drive and click “eject” is safe to eject.
Now you can just go and put it in your car. You’ll see the Tesla daschcam active indicator on your car display

Flash drives over 32GB
Now we are gonna do format USB flash drives over 32 gigabytes. 128 gigabytes which is what I would recommend. This is for anyone higher than 32 gigabytes on Windows 10.
When you have a flash drive over 32GBs, FAT32 will not be available (Maybe it is named as NTFS). So you now can’t do the easiest way possible. There’s a workaround, don’t worry! it takes just a very few more time.
First of all, Go to start on your computer and navigate the search bar. Search for “Powershell“
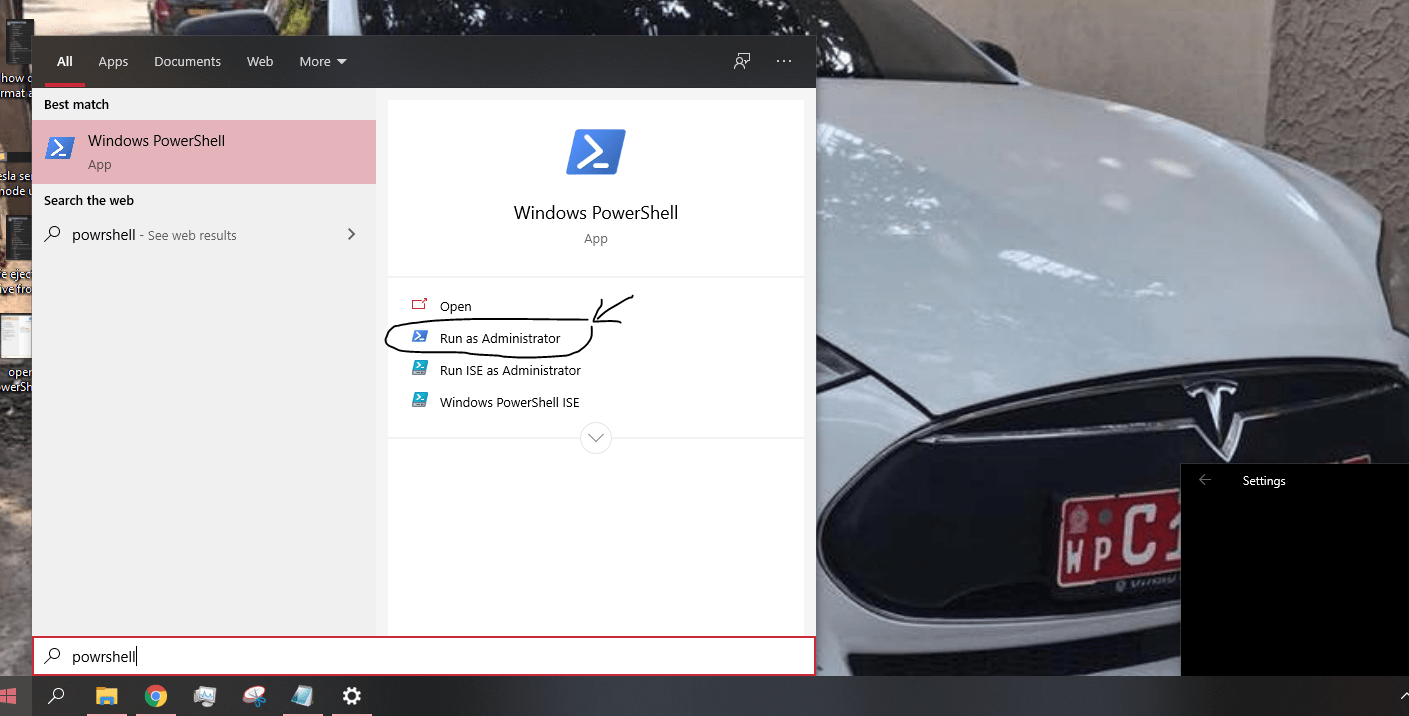
So we’ll have PowerShell there. select Run as administrator. So we have PowerShell open now.
Just copy the code below and we are gonna paste that in the Powershell command prompt. and then all we have to do is replace “yourdrivelabel” with the actual name of your USB flash drive label.
format /FS:FAT32 yourdrivelabel:
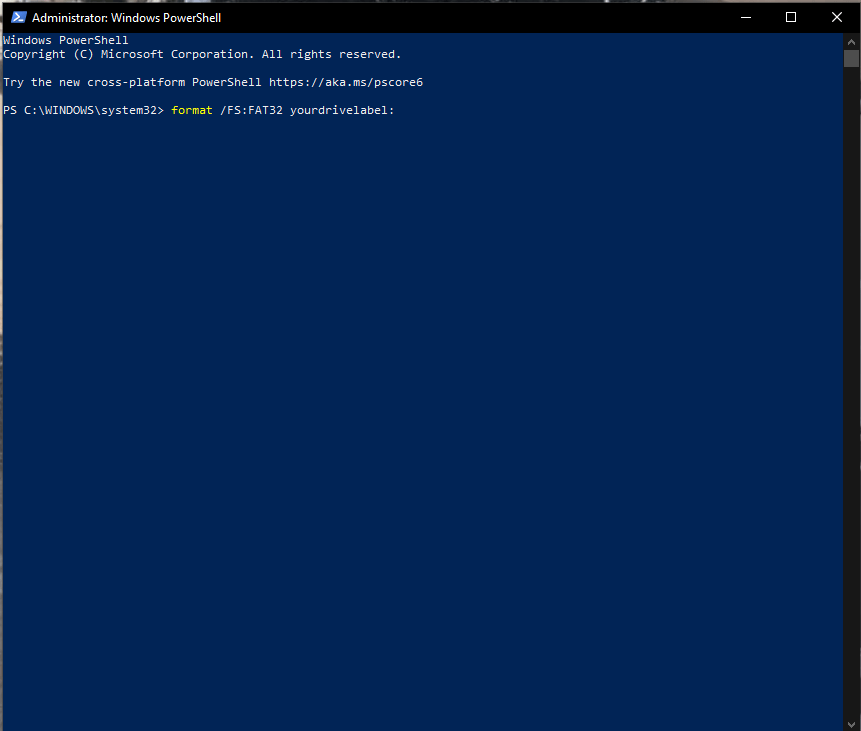
As an example, in my case, The drive label is “G”

So the code will be
format /FS:FAT32 G:
Now we hit enter and it’s gonna say are you sure, or whatever then you’re gonna hit enter again, and you’ll see a message that format was completed.
This process will take up to 30 minutes. so let’s be patient 🙂

After 100% completed. you are free to close the PowerShell and rename your flash drive if you want (optional).
Then, as we did before, Create a new folder named “TeslaCam” in your flash drive.
That’s it. Plug it to your Tesla car USB port.
Formatting a USB drive for tesla dashcam with Mac
Mac users plug in the USB then we are gonna go to the search bar and type in Disk Utility and hit enter to open that up. Once that is all loaded up you’re gonna click on the drive that you want to erase. Make sure it’s on ms-dos fat which is a max version of FAT32 and then you are going to hit erase.
Then just to confirm, you can right-click get info. Make sure it says that for the Format: MS-DOS (FAT32).
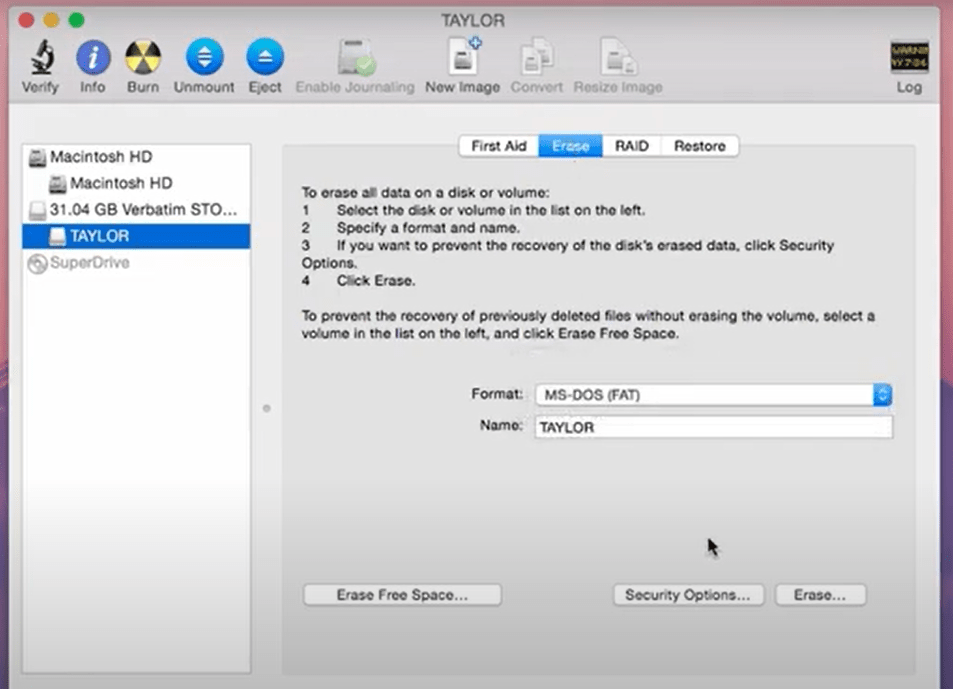
Once you are confirmed and you know that then it is time to create the TeslaCam folder. On your freshly formatted USB drive, Right-click and create a new folder and, the same deal we’re going to name it “TeslaCam”. Then we are going to hit eject out here.
Then you can insert your USB flash drive in your Tesla car’s center console’s USB input panel. You’re done!
I would like to give you an extra tip here:
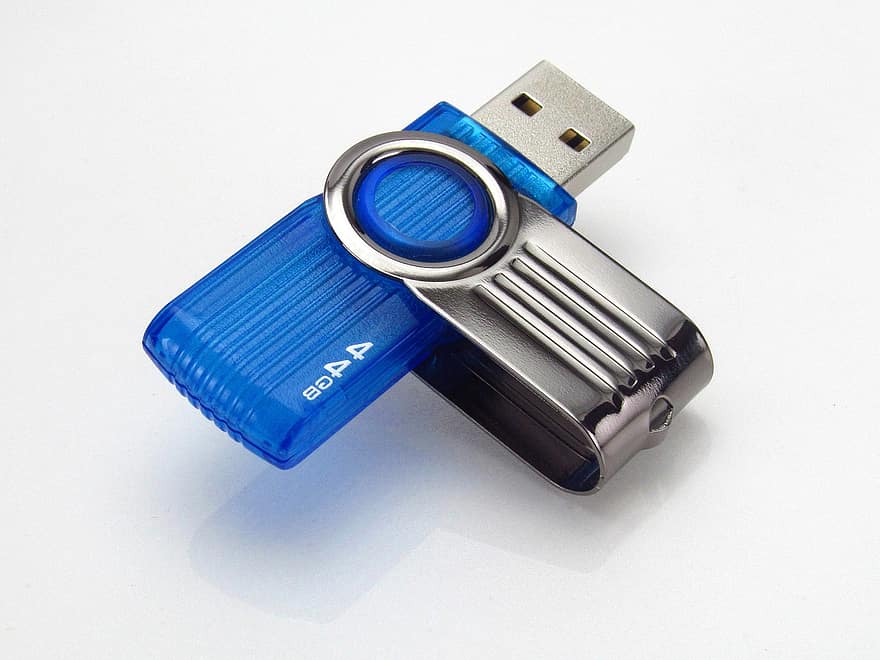
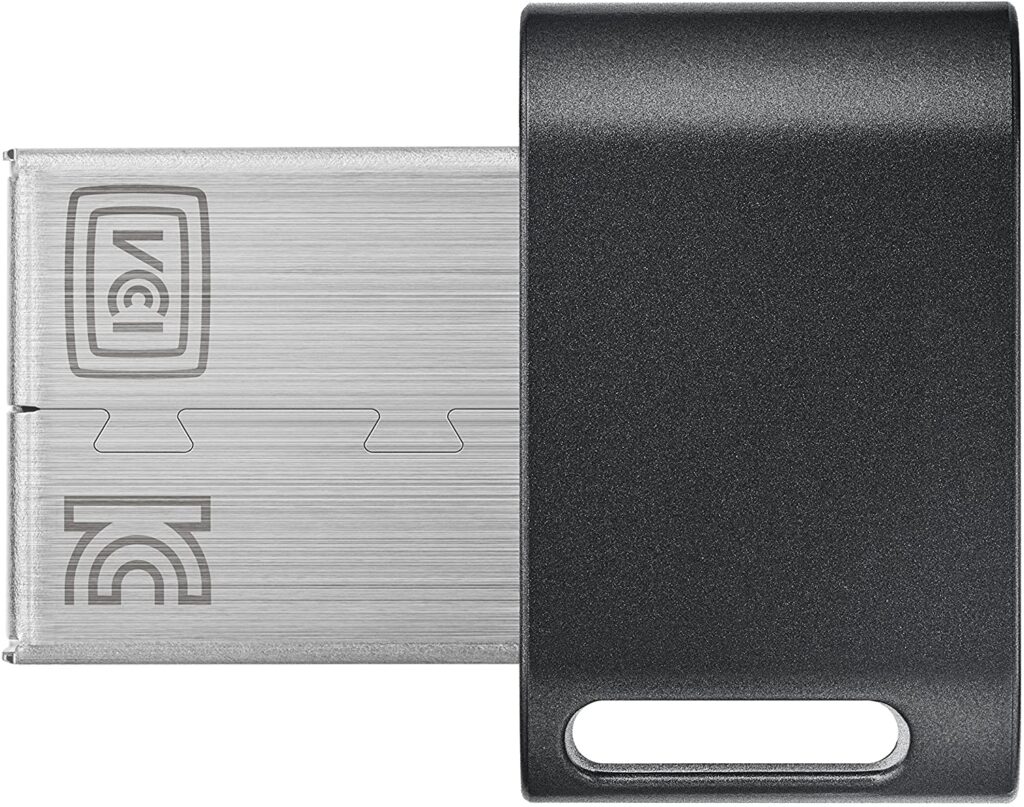
These two flash drives are totally different. Even though they might be the same internally. One is very easy to see and looks very flashy. The other one looks very low-key. I mean, this small one looks very low-key and is much harder to see. You might ask why I might even talk about that.
Well, a very common thing these days is that people will go in and they’ll see a USB plugged in. They’ll see sentry mode on your car too. and they think “oh, he must be recording” when they raid your center console. They might just find this bright-colored big USB Flash Drive, and they might just yank it out. Step on it or take it.
So just another extra precaution if the person doesn’t know what they’re doing. It’s always nice to have a very dark-colored really small just be low-key. You know you don’t want to show off that you’re you’ve got a USB under there. That’s the bonus hint I would like to give you. You can buy whatever USB flash drive you like. 🙂
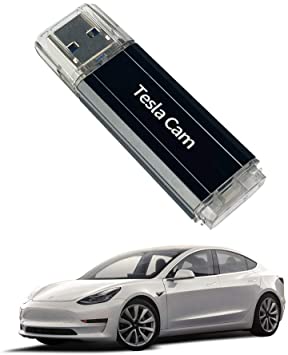
Tesla USB Dashcam Pre Configured Drive
You may also like to read: Cybertruck Pros and Cons Best Explained in 2020
Have any questions? don’t think twice to leave a comment and ask anything in below.
